Monday, October 12, 2015

This is the Place Heritage Park Visit & GIVEAWAY

**I received tickets to visit the park in order to give an honest review.  No other compensation or products were received.  My thoughts and opinions are 100% my own and others may have a different opinion.** 


This is the first opportunity I have ever had to be able to go to This is the Place Heritage Park.  We were so excited to have the opportunity to go as a family.  I always love to go sight seeing and find out a little more about history.  This is the Place Heritage Park is a great local Utah attraction.  It is located right across the street from the Hogle Zoo.  This is a great place for locals to go and take your family for a great day of fun, or anyone if you are paying a visit to Utah.


There are some great monuments to see at This is the Place Heritage Park.  Many of these monuments depicting the settlement of Utah, the settlement of the United States, the Pony Express, and many other great monuments.   These monuments were really neat to see.  I had never seen them before and it was fun to learn about more of the State of Utah, history about our country, and enjoy the beautiful workmanship of these great monuments. 


This is the Place Heritage Park is ready for fall and Halloween!!  They have great fall decorations throughout the park as well as upcoming events.  


The Witches Ball is one of the great upcoming events going on at the park for the Halloween Season. There is also the Haunted Village coming to the park.


I have heard great things about the Haunted Village at This is the Place Heritage Park.  We visited the park before these great events so we didn't have the chance to check them out.  Several of the employees talked about the Haunted Village and told us what a fun time of year it is at the Park.  It would definitely be something I would love to visit someday.  It sounded like tons of fun from what we were told about these events. 

So many events come and go throughout the year that there is almost always something fun going on to be able to participate in.  Earlier this year they had the baby animals at the park.  My kids would have loved to have gone to see that.  


Instead they had fun milking the fake cow.  It was fun to watch them try to do it especially since they have not seen how a cow is milked.  This was such a fun learning experience for my kids and they loved every second of it. 


One of their favorite parts of the visit to the park was the pony rides.  My children LOVE pony rides and there are not too many places we have found nearby that have pony rides.  They enjoyed it so much that my daughter wants to go back there again just to ride the ponies. 


There is also a really great play area where children can just play and use their imaginations.  My children loved the wooden train and miniature buildings depicting the town.


They had so much fun going door to door at the little buildings. Fun to watch them keep going in and out of the buildings and pretending to be the different types of workers that would be in those types of buildings.  The fire house was their favorite.  This area was so cute and fun for kids.  My children loved this area so much we had to do a little coaching to get them to move on.  It was so fun to watch them play.


It was a lot of fun to go through the houses at the park and teach my children about history and how different things were over 100 years ago than they are today.
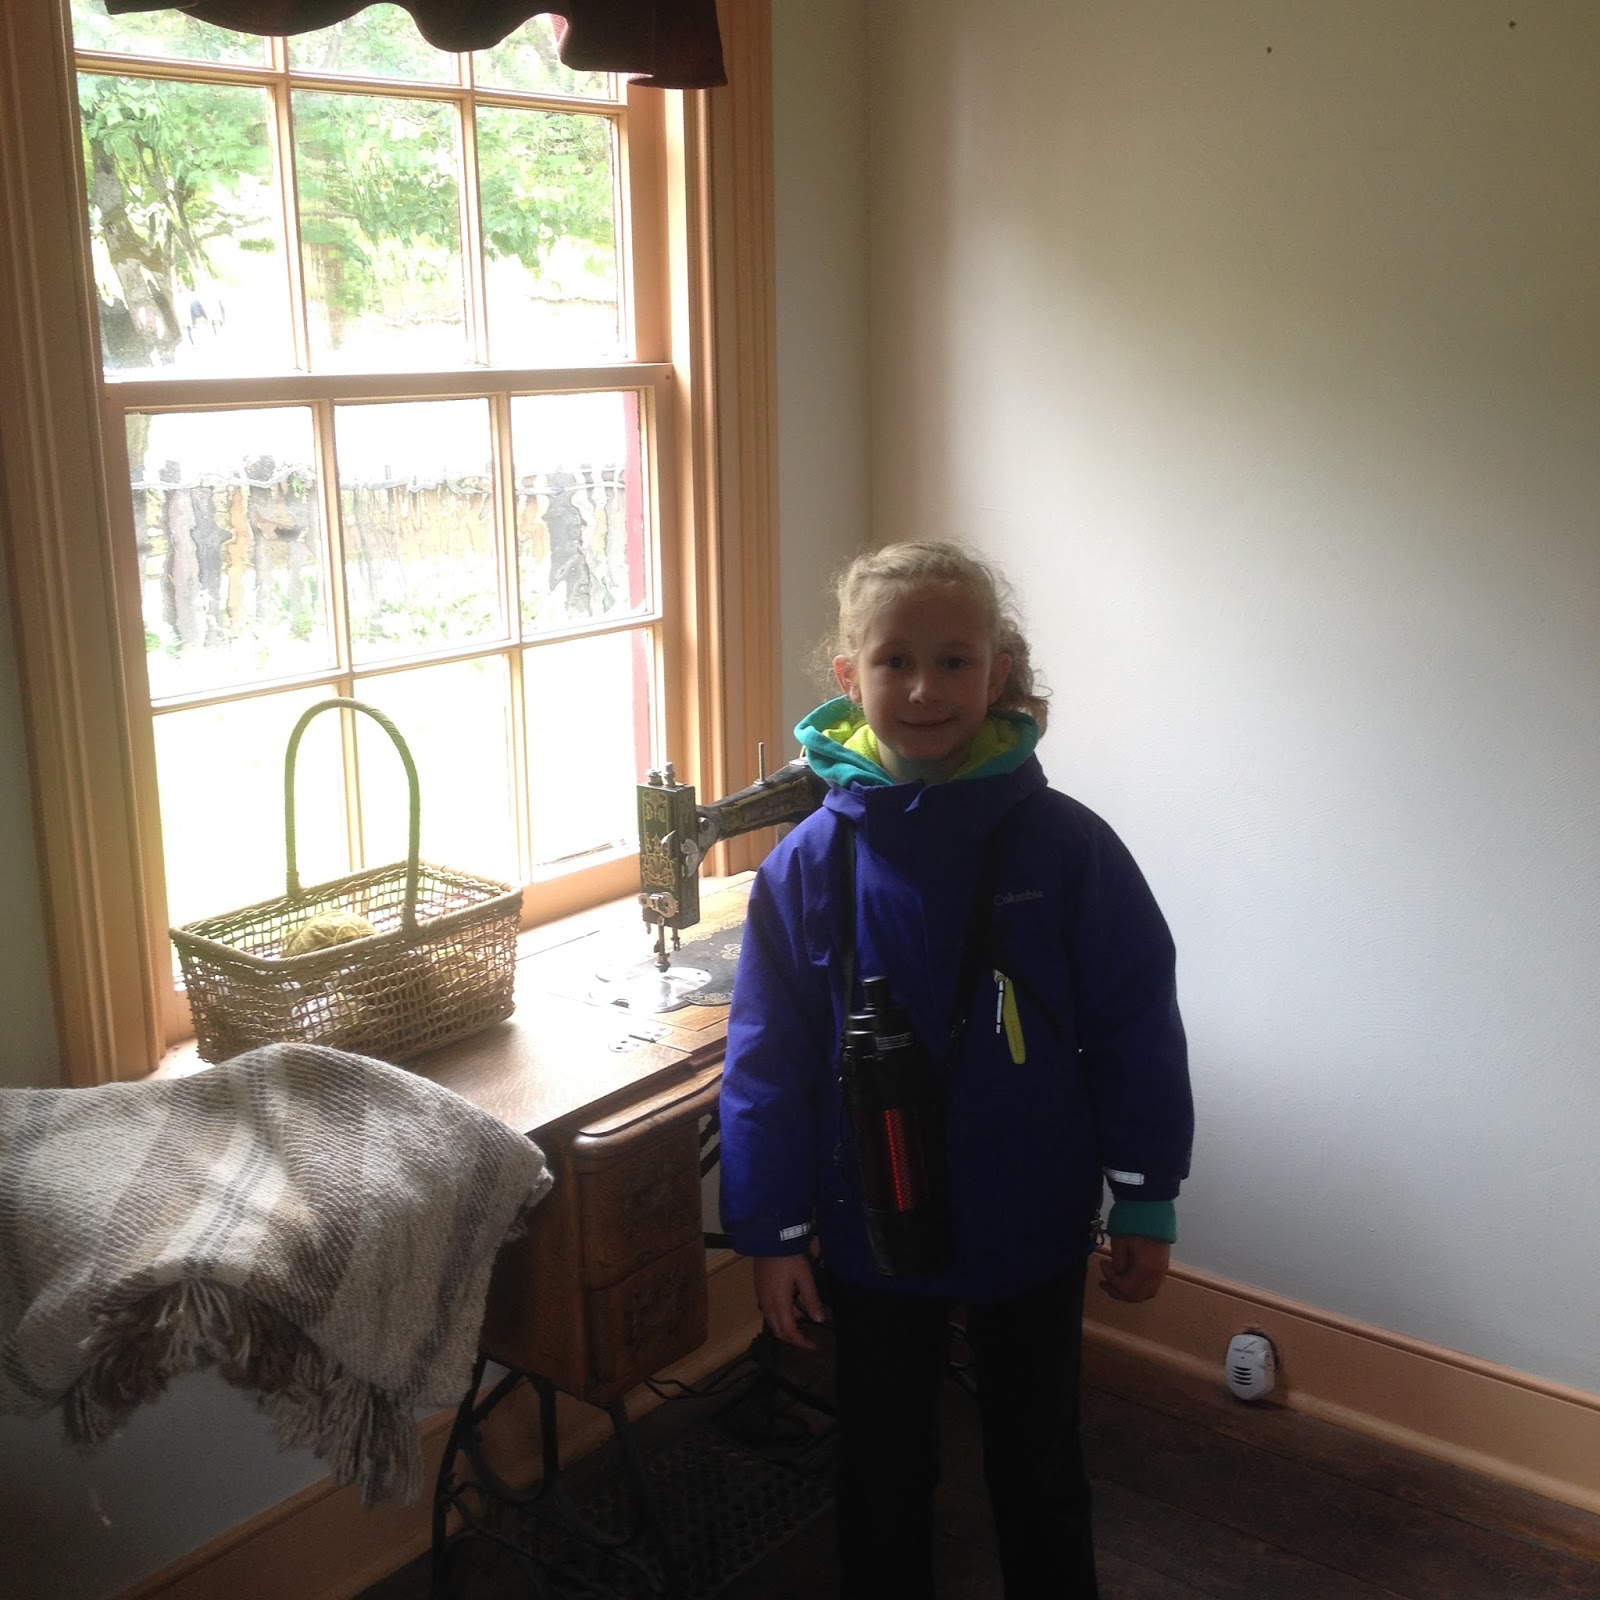


This little gift shop inside the park is so much fun.  My children loved looking around at all the old fashioned type candy and toys.  I absolutely love the look of this little store. 


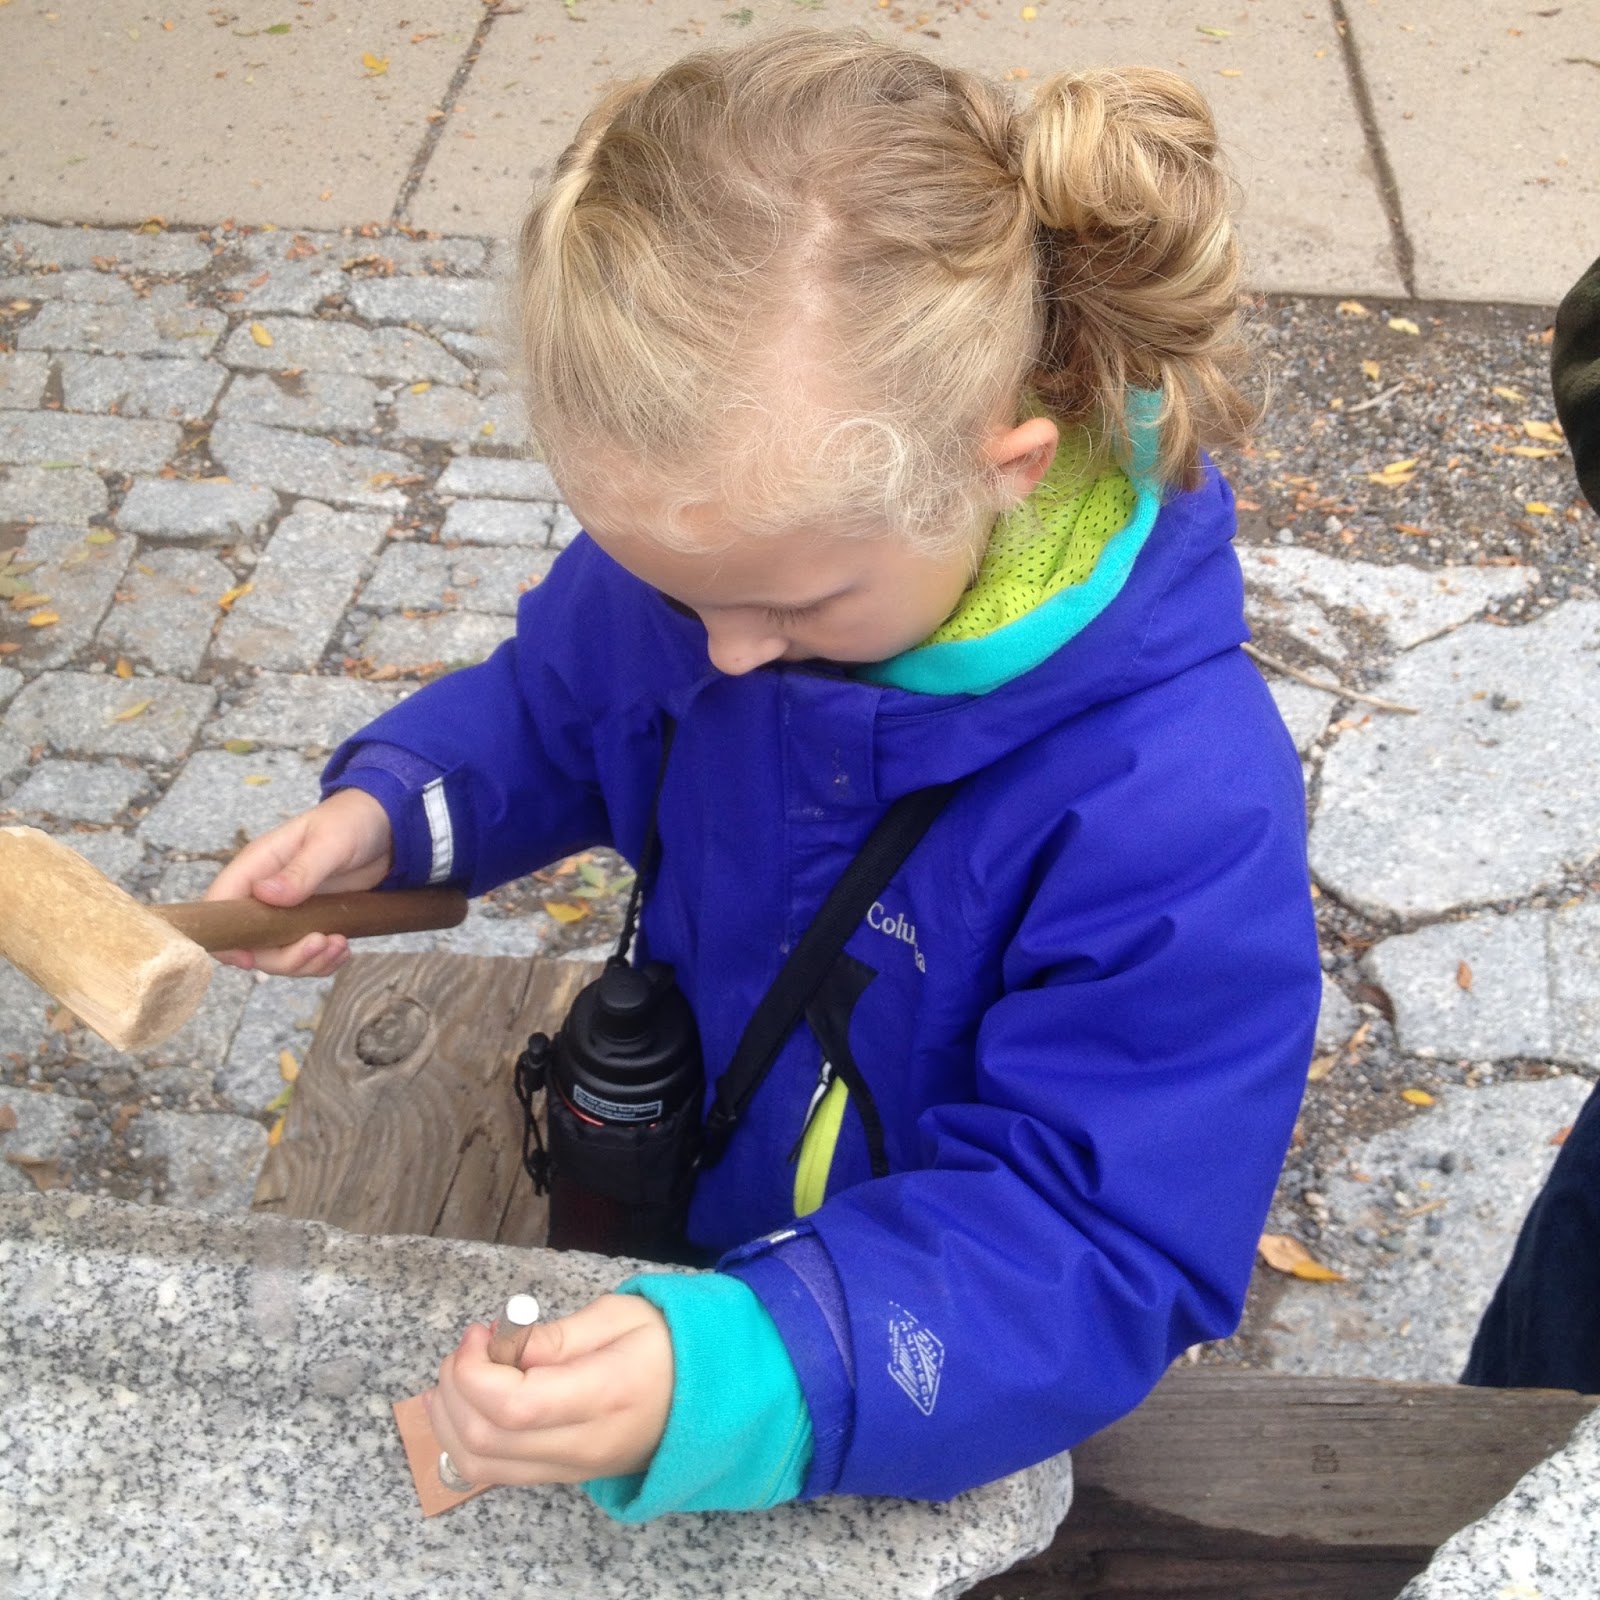
At the tannery we learned about leather and how it is made.  Then we learned how they made different types of leather items and how they made them decorative.  My children had the chance to stamp their own piece of leather.  They loved being able to do it themselves and seeing that they could create different designs.  The men in the leather shop were so entertaining.  One of my favorite parts about the tannery was how knowledgable the men were, and how happy and excited they were to teach the children & share what they knew.


Of course what kid doesn't like a train ride?? There were two types of trains at This is the Place Heritage Park and of course my children had to ride both of them.  This larger train was a train that took you around the park.  It was great to hear the conductor talk about the park as you passed different sections.  This helped us learn much more about the park than we would have learned if we had just been walking around the park on our own.


This smaller train went around a pond and it was more of a ride for the kids.  Of course they had to ride it and they loved it.


A great part of the park is the discovery area with this awesome ship and other things for children to discover and play on.  My children were no exception.  They loved this ship.  It was put together with such great craftsmanship. I was very impressed with so much I had seen around the park and how much detail things have depicting the correct time period. 


Besides the pony rides the other favorite for my children was panning for gold.  They had this little river for people to pan for gold.  My children tried to collect as much gold as they could in the time we allowed.  Then we took the gold to the bank to see how much the gold would have been worth in the time period when panning for gold was most popular in the west. They had so much fun doing this that they keep talking about it and asking when they can go back and pan for more gold.  Of course it was just pyrite but they enjoy it just the same.


If you haven't been to This is the Place Heritage Park I highly recommend going for a family outing if you are a local, or if you are from out of town I recommend you check it out if you ever pay a visit to Utah.

You can enjoy $2 off per person on your regular admission to the park just for being one of my readers!!

Check out my great giveaway!!

WIN a Family Pack to This is the Place Heritage Park
Family Pack Includes:
6 passes to the park 
(The passes are only to use for admission to the park, not Haunted Village or Witches Ball)
&
a dozen donuts
ENDS 10/24
To enter the giveaway just simply fill out the rafflecopter below for your entries.  If you don't see the rafflecopter simply wait or refresh the page. Don't forget you can share the giveaway daily for extra entries!!  So get your entries in and share with your friends.  If you need any help entering feel free to email me. 


**I received tickets to visit the park in order to give an honest review.  No other compensation or products were received.  My thoughts and opinions are 100% my own and others may have a different opinion.** 


Monday, September 21, 2015

Chain Market Quilt Tutorial

**I received the fabric used in this project in order to do an honest review and tutorial.  No other compensation or products were received.  My thoughts and opinions are 100% my own and others may have a different opinion.**


Riley Blake Designs


I LOVE Riley Blake fabrics!! I always get so excited to make a project for them using their products. I especially love making quilts.  It is one of my favorite things to sew even though they can be really time consuming.  I really enjoyed making this quilt.  I was having a major quilters block on design so my AMAZING sister in law Katie from over at choochooskadoo helped in designing this quilt.  She has some great talent in quilting and we have really enjoyed bouncing ideas off of each other and being quilting buddies over the years.

I really hope you enjoy this quilt project as much as I do!!

Finished quilt approximately 72" X 96" (Twin size)

For this project you will need
 96 scrappy quilt square 6 1/2" X 6 1/2" 
2 yards of solid fabric for chain blocks (I used 1 yard Navy Blue and 1 yard Mint Green)
2 yards background fabric 
5/8 yard binding fabric (non-bias binding)
Batting
Backing

For this quilt I chose to use Vintage Market by Riley Blake Designs

 Now on to the tutorial.....

First you will need to cut your 2 yards of solid fabric for the chain blocks and 2 yards of background fabric.  You will start by cutting them into strips 3 1/2" by the width of fabric.  


Take your fabric scraps, fat quarters, or whatever yardage you will use for your scrappy squares and cut 96 squares that are 6 1/2" X 6 1/2"


Take a strip of your background fabric and a strip of your solid fabric for your chain squares and place them right sides together.  Sew the two strips together using a 1/4" seam allowance. (You will use a 1/4" seam allowance on the entire quilt)


Press open your strips pressing towards the darker side
  

Next you will cut the strips so you can make your chain blocks.  Line up your ruler on the seam of the strip and cut it at 3 1/2" wide.


Cut all your strips so you will have all the pieces needed to make your chain blocks.


Take 2 of the same color strips you sewed together and place them right sides together and place a pin at the seam.  Sew a 1/4" seam on each set until you have sewn all your chain blocks together.


After you have sewn all the blocks together press all the blocks open. 
You will end up with 96 blocks that look like the block below.


 You will then start laying out all your squares so you can sew your complete blocks together.  See photos below to start laying out your quilt. (See finished quilt below for layout of quilt)


After you get the layout of your quilt going then you can start sewing all your blocks together.  You will sew 4 squares together to make a complete block.  Sew two blocks together with right sides together.  Then you will take the other two squares for that block and sew them right sides together.  So first you can sew the top two squares and then second sew the bottom two squares.  Then you will press them each open going the opposite way so that your seams will nest well together.  Then you will pin the 4 blocks together at the seam like below and then sew them together.


 Once you have sewn the blocks together then press them all open like the photo shown below.


Once you have sewn all your blocks together you will then start sewing your rows together like shown below.  Pin two blocks together with right sides together and at all the seams to make sure that the seams are all lined up.  Repeat this step until you have added all the blocks on the row.


Once you have all the rows together you will then sew columns together.  Pin 2 rows together (right sides together) putting pins at all the seams to make sure they are all lined up when you finish the rolls. See the photo below for an example of 2 rows pinned together.  Repeat sewing all the columns together to have the front of your quilt completed.


Your quilt should look similar to the layout below after you are finished sewing all the rows and columns together. 


I decided to just do a simple stipple machine quilting on this quilt.  I didn't want it to look too modern although stipple is a more modern stitch.  I used variegated thread on this quilt which I think turned out great.


I am SO excited with how this quilt turned out!! I am looking forward to using this quilt in my home. 


Thank you for reading my quilt tutorial.  Leave me a comment below telling me what you think. I hope you come visit me again!! 


**I received the fabric used in this project in order to do an honest review and tutorial.  No other compensation or products were received.  My thoughts and opinions are 100% my own and others may have a different opinion.**


Thursday, July 2, 2015

RBD Home Dec Love Blog Tour: Pleated Curtain Panel Tutorial

**I received fabric in exchange for this tutorial and review.  No other product or compensation was received.  My thoughts and opinions are 100% my own and others may have a different opinion.**

Riley Blake Designs


I recently bought a house and have no window coverings for it.  I thought it was about time to make some window coverings.  These curtains are going to be for my son's room and he is so excited about it.  I haven't made curtains for him since he was a toddler and he is now 11.  This fabric was so much fun I was so excited to use it.  This fabric is from Riley Blake Designs and it is their home decor fabric.  I LOVE the home decor fabric.  It is perfect for making anything decor item in your home and it is very durable.  I also love how easy it is to sew with compared to other home decor fabric.


I decided to make lined pleated curtains to help them hold a little more light out and just to add an extra layer.


First I cut the fabric to the length I needed for the windows I was doing.  In this case I cut them 40" long by the width of fabric.  At this time you will also want to cut the selvage off of your fabric.


Next I took a layer of  muslin for the lining.  I cut the muslin just slightly smaller on the top and bottom of the outer fabric of the curtain and then on the sides I left it quite a bit smaller for the next step.  Lay right sides of fabric together.  You will be sewing the two sides together.  The sides will have more excess fabric than the top and bottom and that is the look you are going for.  (I used the width of fabric on the muslin which was like 40" wide and it was perfect to have the excess of the outer fabric of the 55" wide home decor fabric)


Line up one of the sides (right sides together) with the top end all the way to the corner.  You will want the top edge to be flush and line up with top of the fabric and have the excess main fabric to be on the bottom side.  You will then sew down the other side lining up the edges.  Your curtain will now look like the picture below.


At this point you will want to turn right sides out and press the edges of your curtains.  You want the excess to be on the back side so it will look like the lining fabric is pulling the main fabric to the back.  See picture below.


Once your curtain is all pressed you will want to start the top hem.  Fold the fabric over twice to hide the raw edge then sew a seam to have a finished top edge.


Next you will make the pleats in your curtains. Fold the curtain in half and mark the middle.  You will want to make the middle pleat first and then work your way out.  You can make as many pleats as you wish.  Since this was a boy curtain I decided to only do a few pleats.  For a more girly look I would do many more pleats in the curtains. 


Make a crease and then fold a small fan type fold so you have 3 little layers together.


Pin at the top of the pleat and then down to where you want to stop the pleat.  I pinned and made my seam go about 3" down from the top.  So my pleat looks like this


I ended up with 5 pleats on each of my panels because of the size of panel I was doing.  You may need to adjust the distance of your pleats or the amount of pleats depending on how much fabric you are using. 


Last I did the hem of the bottom of the curtains.  I folded it in about a half an inch then an half an inch again to hide the raw edges.  Then I hand sewed a whip stitch into just the lining of the curtain so that you could not see it from the outside.  


 Here are my finished pleated curtains.  I really enjoyed making these curtains.  I LOVE Riley Blake fabric and was so excited to be able to use their fabric decor line.  I look forward to many more projects. 


 Make sure to check out all these other talented bloggers and their amazing Home Decor Projects!

6/19 – The Happy Housie
6/22 – Choo Choo Skadoo
6/23 – A Bright Corner
6/24 – Tea Rose Home
6/29 – Sew Like My Mom
7/3 – Heart Zipper
7/6 – Quiltscapes
7/9 – Jedi Craft Girl
7/10 – Freetime Frolics
7/13 – Modkid Boutique


 I wish you luck with making your own pleated curtains.  I hope you love them as much as I do.  They are quick and easy to make and different than your traditional curtain.  If you have any questions feel free to email me or leave me a comment below.  Leave me a comment telling me what you like about these curtains.

**I received fabric in exchange for this tutorial and review.  No other product or compensation was received.  My thoughts and opinions are 100% my own and others may have a different opinion.**