A FUN TUTORIAL!
I decided my machine has seen enough dust. I recently had to have my machine serviced and when I got it back it was cleaner than it has ever been since I have owned it. In trying to prevent too much dust getting inside I decided a cover would be the perfect choice. I didn't find any tutorials I liked online so I just decided to do one of my own. I wanted this cover to be reversible so I didn't have to look at the same color every day and get sick of it. I wanted my favorite color of course and then I also used a more classic print that should last for quite a while.

Here is my machine. This is the best machine I have ever used!! I plan on keeping this machine for a very long time so I needed a way to protect it.


Here is the the finished product. I used this one as my first side and I used the purple color for the second side. For now I will have the purple side out because it is my favorite color and it will probably stay that way until I get sick of looking at it and need a change.

For this cover you will need 2 yards of fabric (you will be using the exact yard length if you use my measurements) one yard in each color: one for the outside, and one for the inside. (If you didn't want it reversible you could get away with just using one yard of fabric but you would want to use heavier interfacing.) You will also need enough interfacing for at least one of the layers. It is better with interfacing on both layers but I ran out of interfacing so I didn't quite have enough to do as much as I would have liked to do. The interfacing helps it stand better so it isn't just drooping over your machine. You will also need a rotary cutter, ruler, and cutting mat for the easiest cutting method.
Step 1.
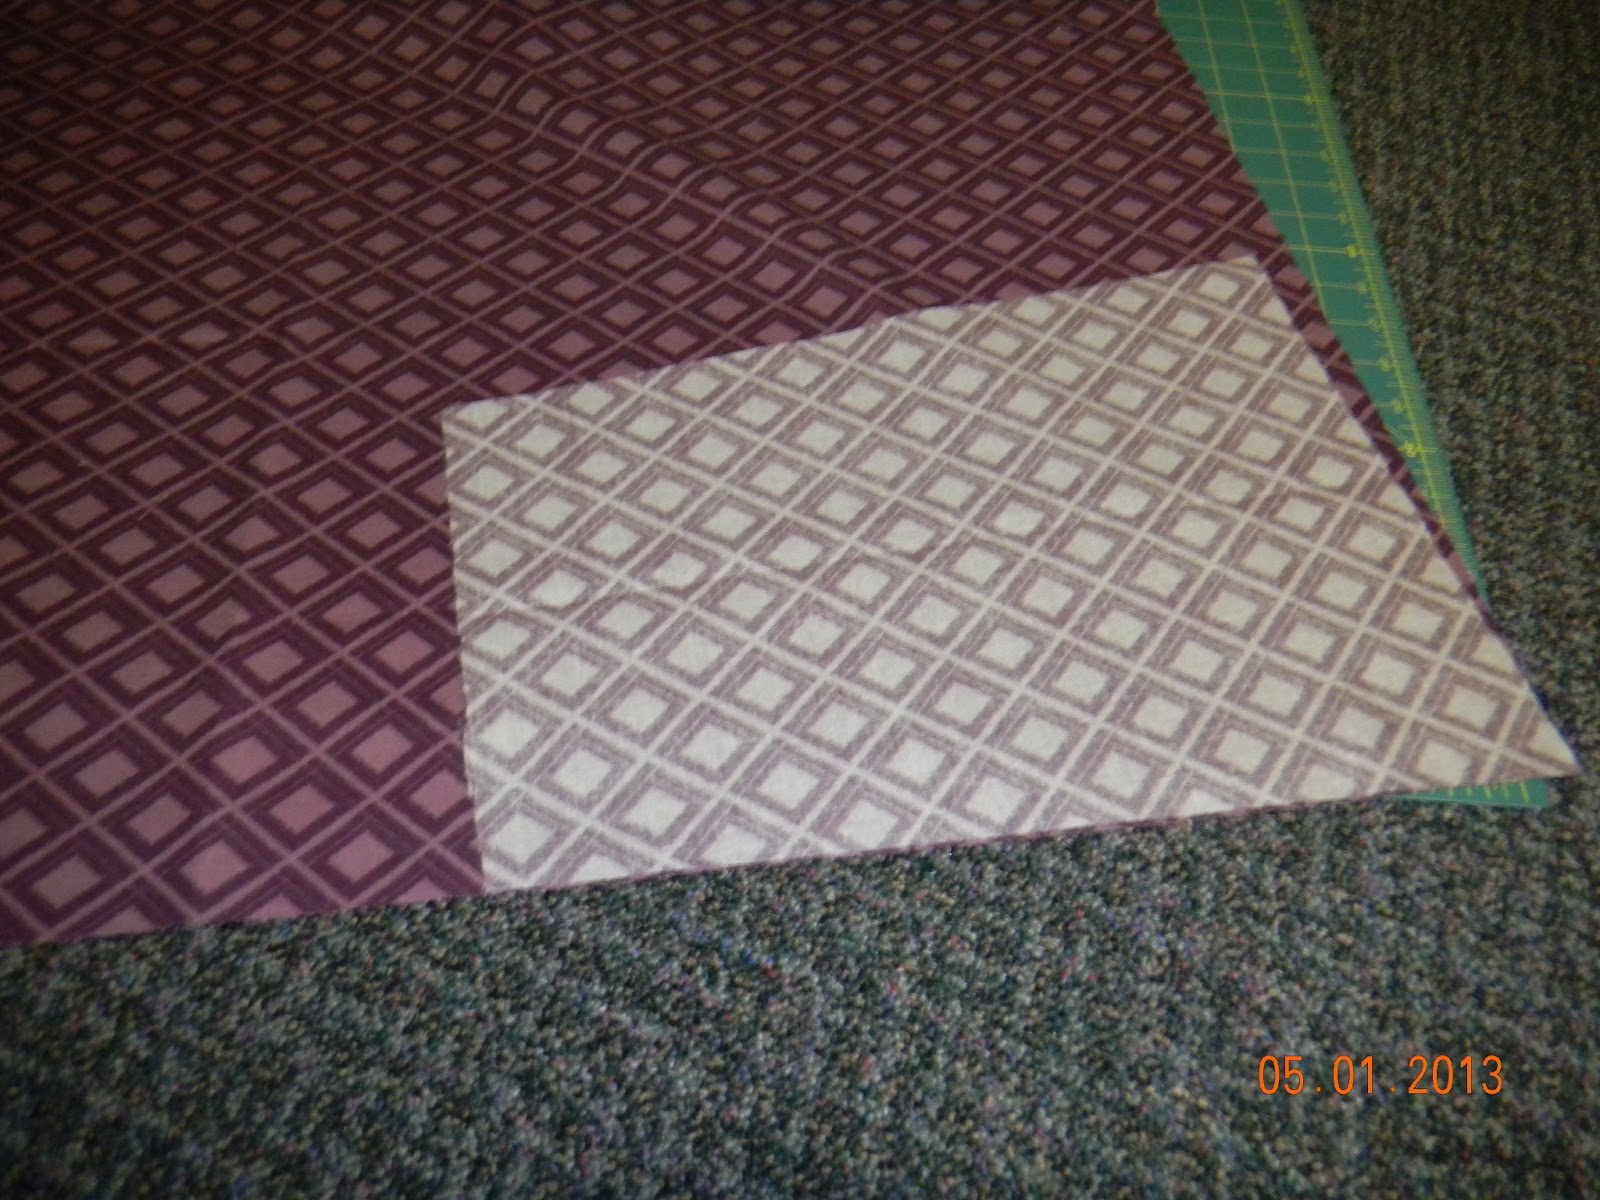
Open your fabric up all the way and lay it on your cutting mat. Cut off your selvage and make sure your edges are straight then ****Cut 2 rectangles for your main body of the cover. *One of each fabric choice. (So I did one purple and one black and white) This will drape from the front over the top and all the way to the back. For mine I cut it 36"X 22 1/2"
Depending on your machine and the size you may have to make adjustments. You can measure your machine for the best results.

(This is my large rectangle. The piece that will be draping from front to back)
Step 2.
With your remaining fabric still open ****Cut 2 rectangles of each each color at 11" X 14 1/2" (a total of 4 rectangles 2 of each color).

Step 3.
Make your diagonal cuts on your side pieces. The easiest way to do this is to fold the rectangles in half the long way. If your fabric is directional you will will want to make sure you are cutting more off of the top than the bottom that way your fabric won't end up upside down. With your fabric folded in half the long way, line up your ruler so that the bottom is at the corner of your fabric (so you end up with 11") and the top is at about 4 inches (so you have 8" on top). The total size should measure 11" at the bottom and 8" at the top. It is just a slight adjustment but you don't want the top of your cover to be too baggy.


Unfold your sides.
****Cut interfacing for each piece that you decided to put the interfacing on. Iron the interfacing into place. If there are any edges of interfacing sticking out trim them off to match your fabric.
Step 4.
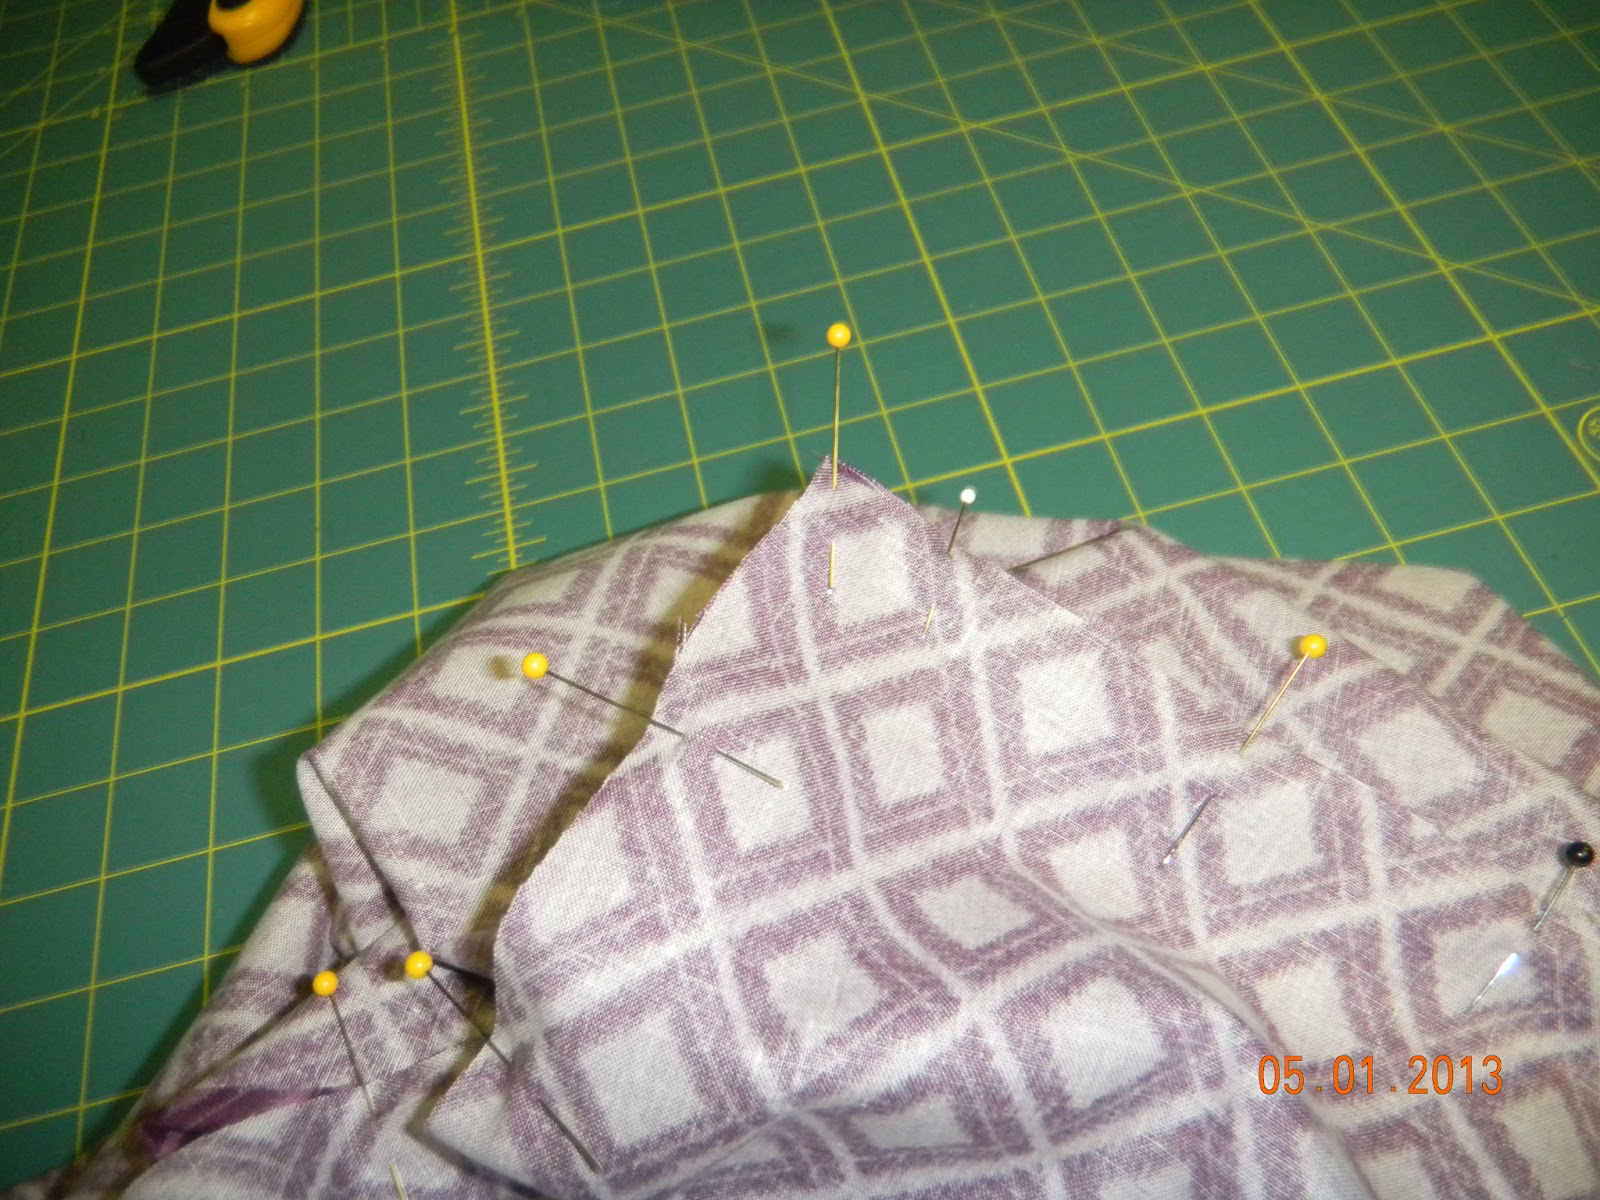
Pin your sides on to your main body. With right sides together lay it corner to corner on the length of your fabric. You will be wrapping the body up the side over the top then down the other side. Pin all the way around making sure to keep the corner a corner. Leave an opening at the top of just one of the sides to be used later.
Step 5.
Once you have both sides pinned then SEW around all sides. ***On just one of the sides you will need to leave an opening at the top for turning purposes later. So make sure to leave an opening!

Repeat sewing until all 4 of your sides are sewn.
Step 6.
Once you have all your sides sewn you will have 2 shapes that sort of look like an awkward bag. Turn your inner lining with the opening so the right side of the fabric is pointing toward the inside. Make the outer layer right side out and place it inside the inner layer. So right sides will be touching with your outer layer inside the lining layer. The whole thing will look wrong side out at this point and all you will be able to see is the wrong sides of the fabric.
****Sew around the top edge all the way around leaving no opening.

Step 7.
Once you have the 2 layers sewn together it is now time to flip it right side out. *Through the opening that you left in one of the seams pull the outer layer and flip everything right side out. At this point you would want to sew your opening closed either on the machine or by hand. I prefer to do this by hand so that the stitch doesn't show because I prefer a hidden stitch. You now have to put whatever side you want as the liner inside the outer layer. Tuck the corner in together and make sure there is a point.
Step 8.
After your cover is turned the you will want to sew a stitch all the way around the bottom of the cover (the big opening) to secure the two layers together. I usually do about an 1/8" seam. Or you could also just make a very scant 1/4" seam here. Doing this step also gives it a more finished look. If you choose not to do this step you are finished. It is not necessary for function, it is just a personal preference.
Now you have your finished product!!! Enjoy. :)


No comments:
Post a Comment